Make Your Registration Appointment
New undergraduate students: Make your registration appointment for your first semester classes and get your ideal class schedule this fall!
Transfer Deadline: June 1
Learn more about transferring to SAIC for fall 2025 and apply now!
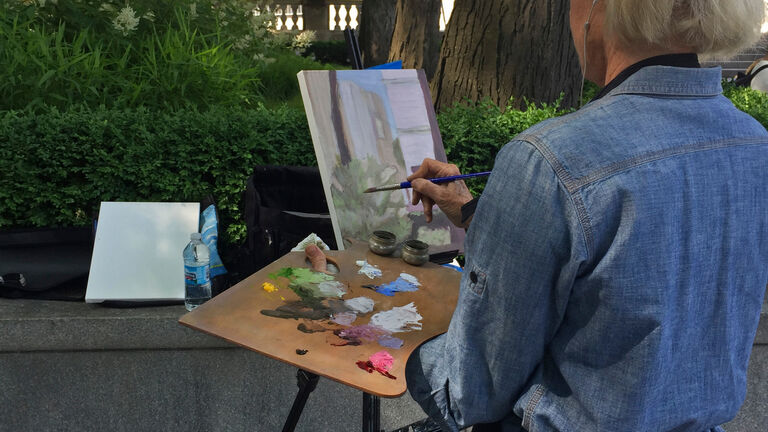
Take an Art Class this Summer
Non-credit online and in-person courses for adults start soon! See all courses and register now!
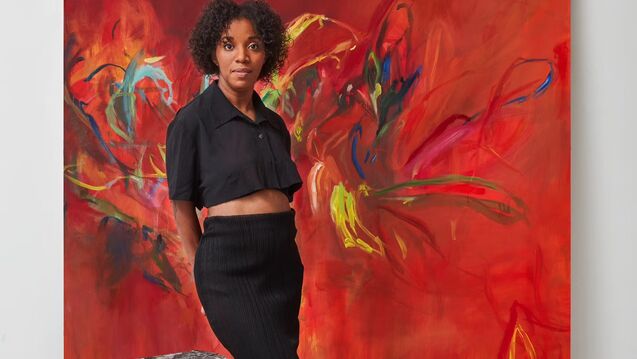
Curious. Bold. Ambitious.
You're ready to take risks and challenge others. You're open to change — and want to change things. This is your playground.
#2 Fine Arts Program in the U.S.
U.S. News & World Report
Best Grad Schools
Spring 2025 Magazine
A picture is worth a thousand words—and judging by the photographs sent to us by winter 2025 study abroad travelers, the snapshots from these trips could fill a novel. Check out these three Study Abroad trips—and pictures—in this School of the Art Institute of Chicago magazine feature.

PICTURE THIS: STUDY ABROAD TRIPS
A picture is worth a thousand words—and judging by the photographs sent to us by winter 2025 study abroad travelers, the snapshots from these trips could fill a novel. Check out these three Study Abroad trips—and pictures—in this School of the Art Institute of Chicago magazine feature.
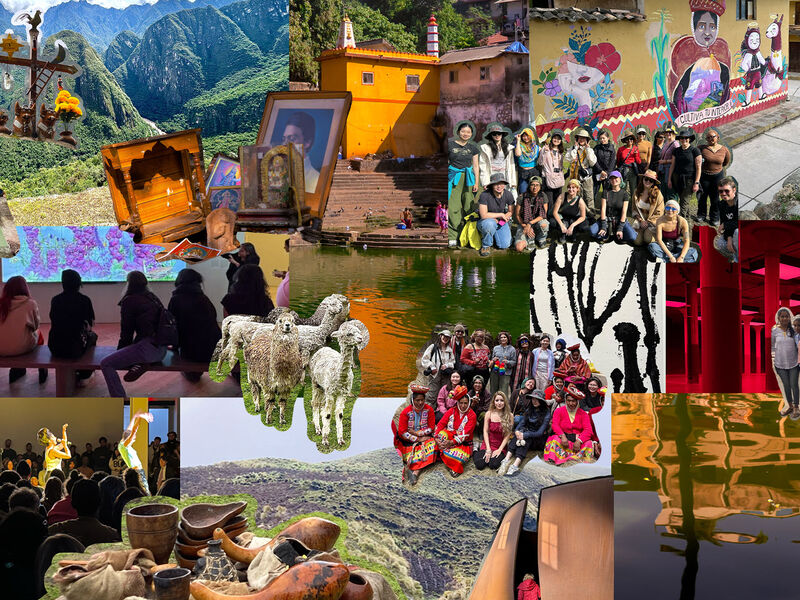
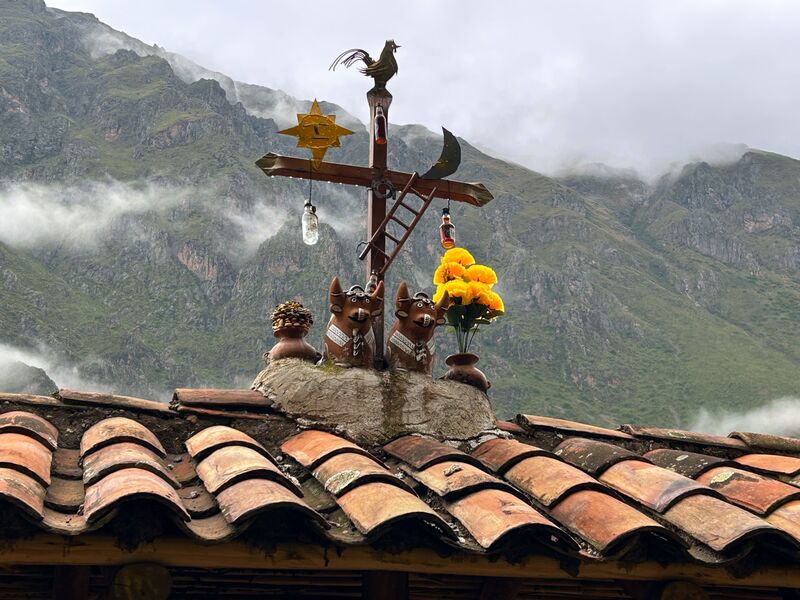
EXPLORE THE ART OF PERU
In this unforgettable trip to Peru, the class dove into the rich world of South American textile traditions and explored art as a bridge between cultures. They connected with local traditions in meaningful ways—plus, they got to explore Machu Picchu.
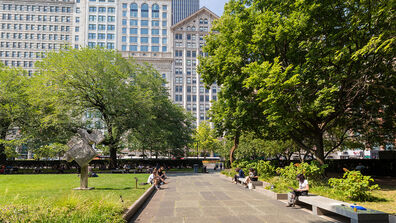
VISIT NYC’S GALLERIES
In this busy two-week trip, students explored the city's art scene, from artist studios and residencies to cutting-edge galleries and major museums—including visits to see the work of Rashid Johnson (SAIC 2003-04, HON 2018) and Jeff Koons (SAIC 1975–76, HON 2008).

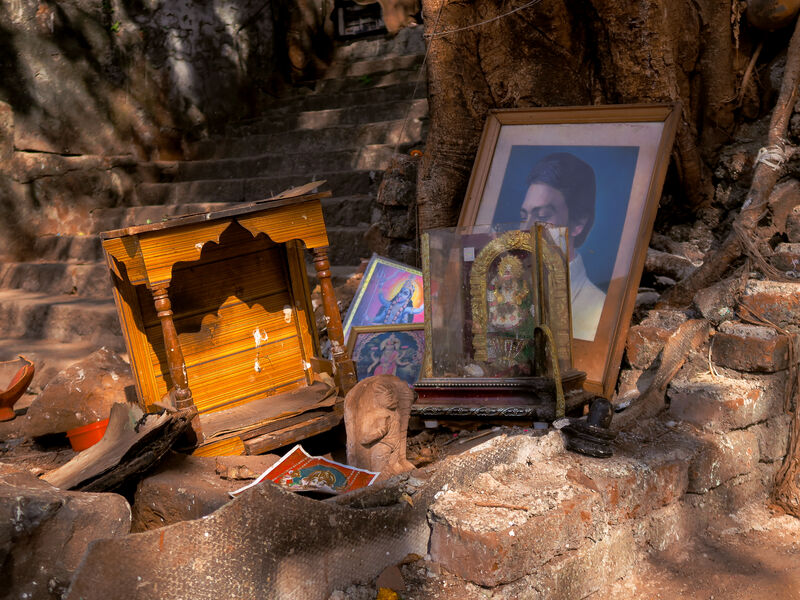
DISCOVER INDIA’S ART SCENE
From the world-class galleries of Mumbai to the 8th-12th century cave temples of Elephanta, this class explored India's dynamic art scene. Along the way, they engaged in hands-on workshops, studio visits, and meaningful conversations with artists working outside traditional gallery spaces.
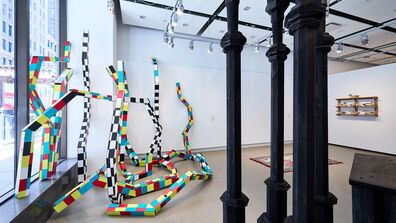
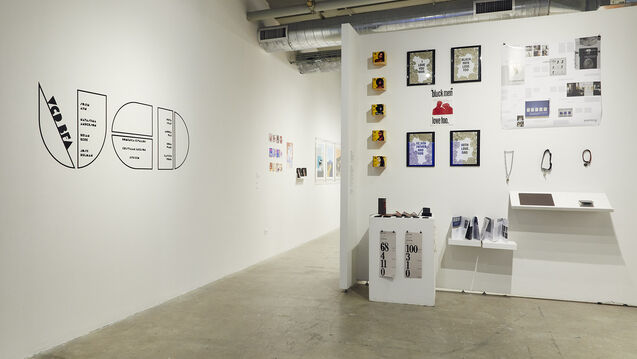
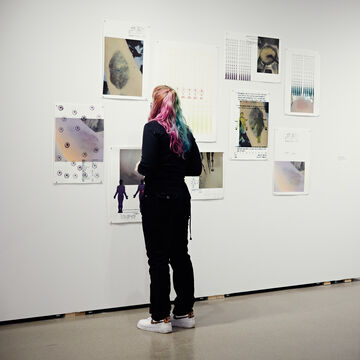
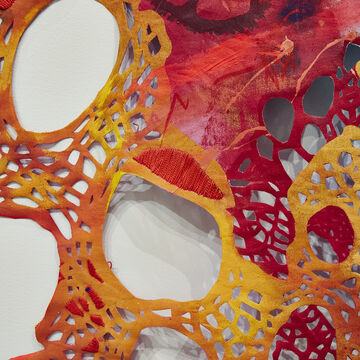
What Is This?

SAIC Shows
Graduate Exhibition One

Graduate Exhibition Two

Undergraduate Exhibition

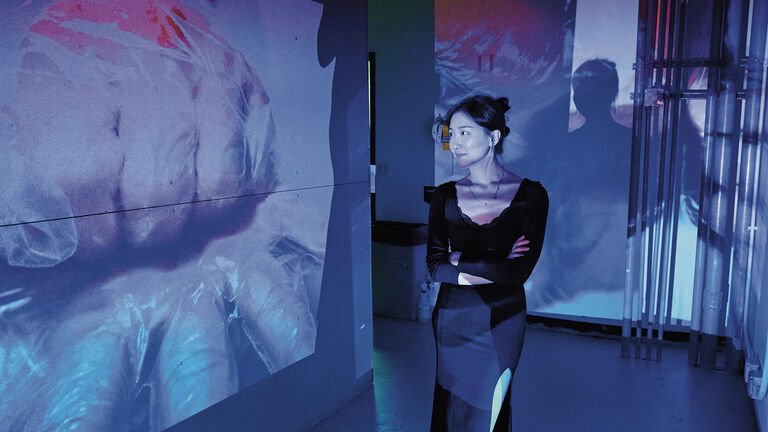
Upcoming Events